Breadmaking is one of the oldest baking practices that we still enjoy today. Granted, we could always run to our nearest grocery store or bakery, but nothing beats a freshly home-baked loaf of sourdough bread. If you’re an avid bread baker, you’ll want to grab some banneton baskets (also called proofing basket) to get that oh-so-perfect shape.
Never used one before? We’ve got you covered with everything you need to know about a banneton’s role in your bread making process.
Why Use a Banneton Basket?
Bannetons are designed to simplify breadmaking. Once you make your sourdough, it will rest in the proofing basket until it’s time to bake, giving it less time to spread out.
Breadmakers use banneton baskets for three main reasons:
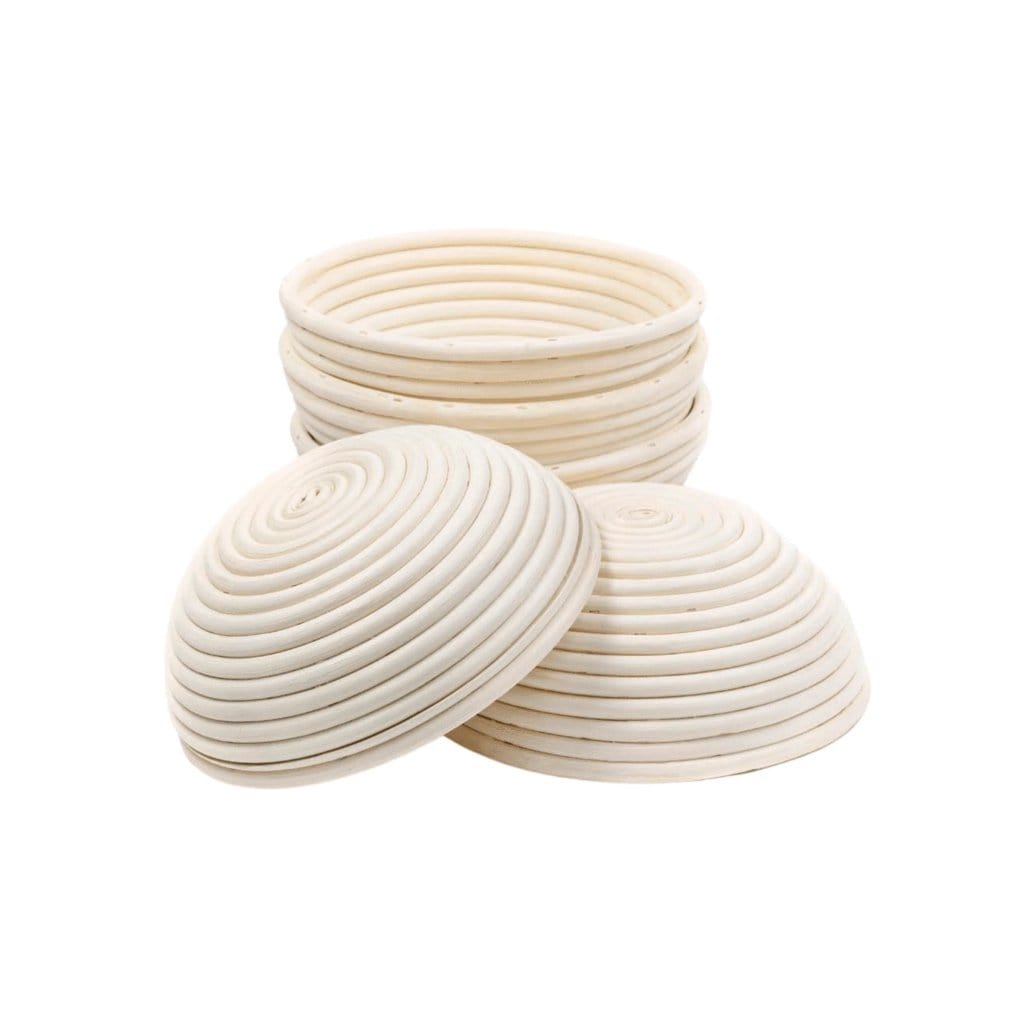
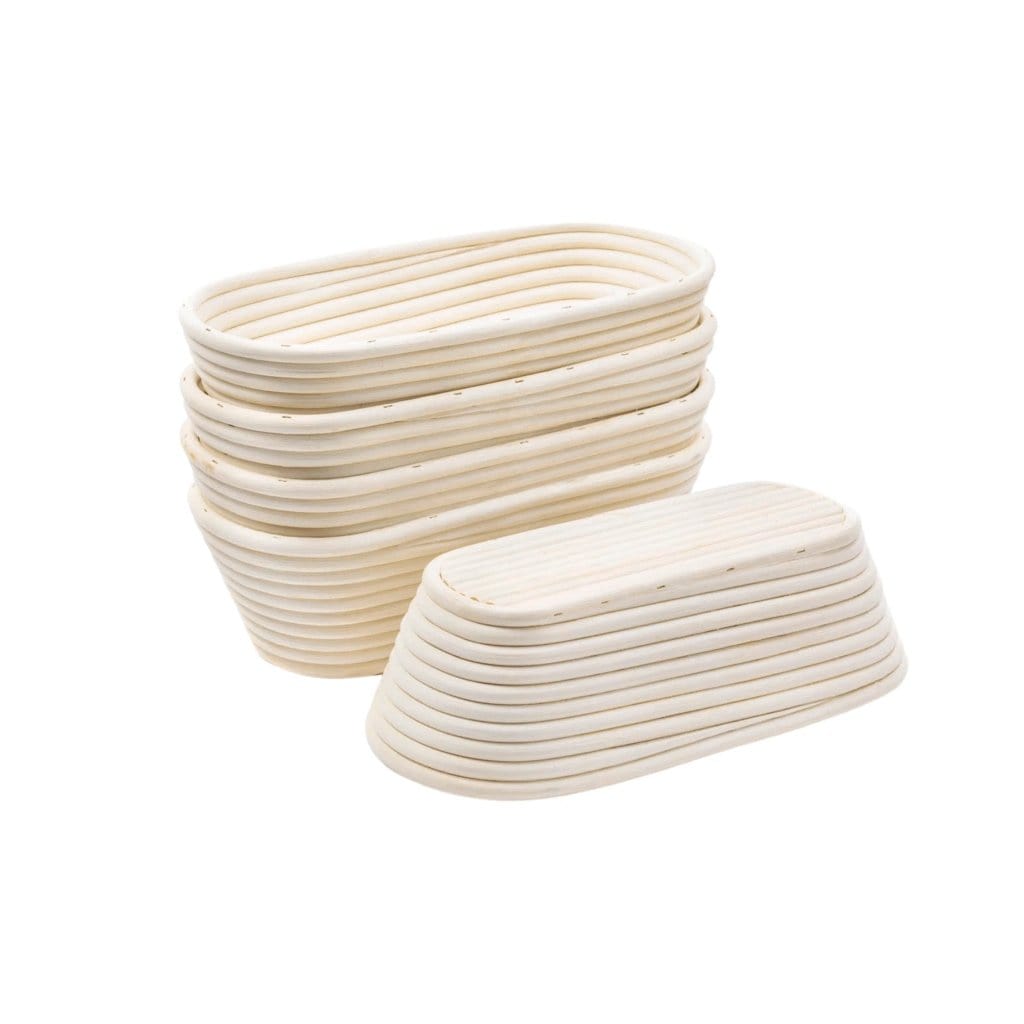
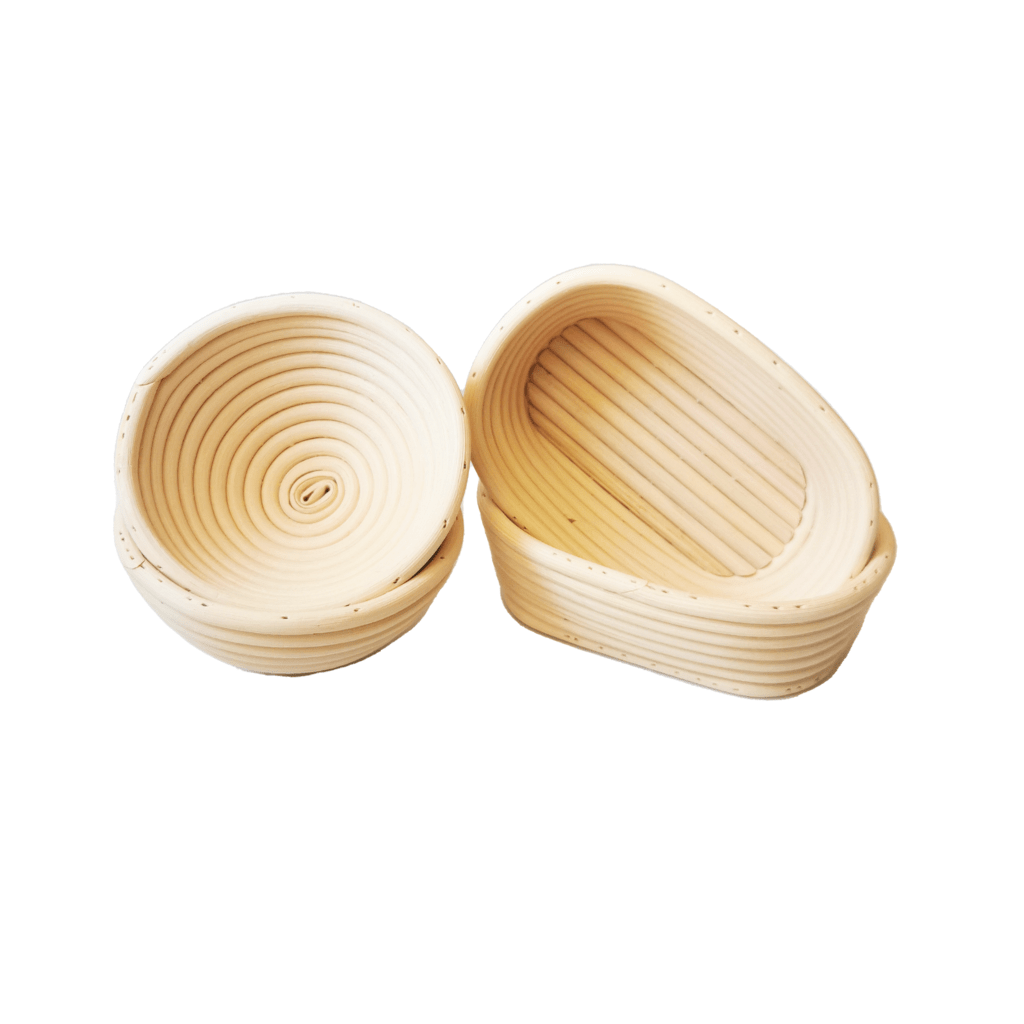
The first is to give their sourdough loaves an evenly rounded shape throughout the baking process. If you consider yourself a bread artist and love to savor the appearance of your bread just as much as the flavor, you’ll want a banneton basket in your kitchen.
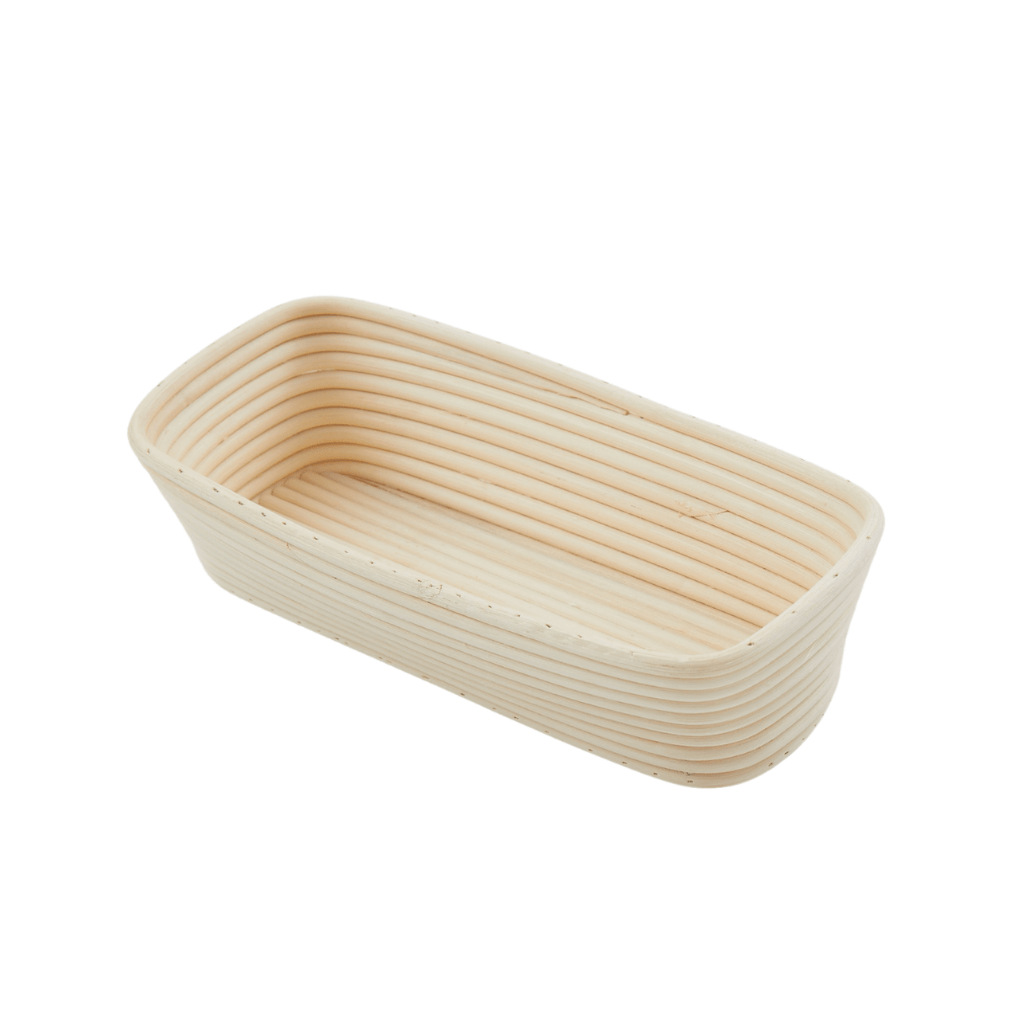
Second, to helps your bread to breathe, so there’s no need to create a separate humid proving environment — the proofing basket does all the work for you! While your sourdough is proofing, the rattan basket creates its own humid microclimate. This is the key difference between bannetons vs. other types of baskets.
Last but not least, bannetons give your bread a cool design. The pattern of the rattan will imprint on the top of your loaf since you place your dough upside down. Once you remove your bread dough and transfer it to the oven, it will bake in that same unique pattern to give your bread more personality.
Prepping Your Bannetons for Your Dough
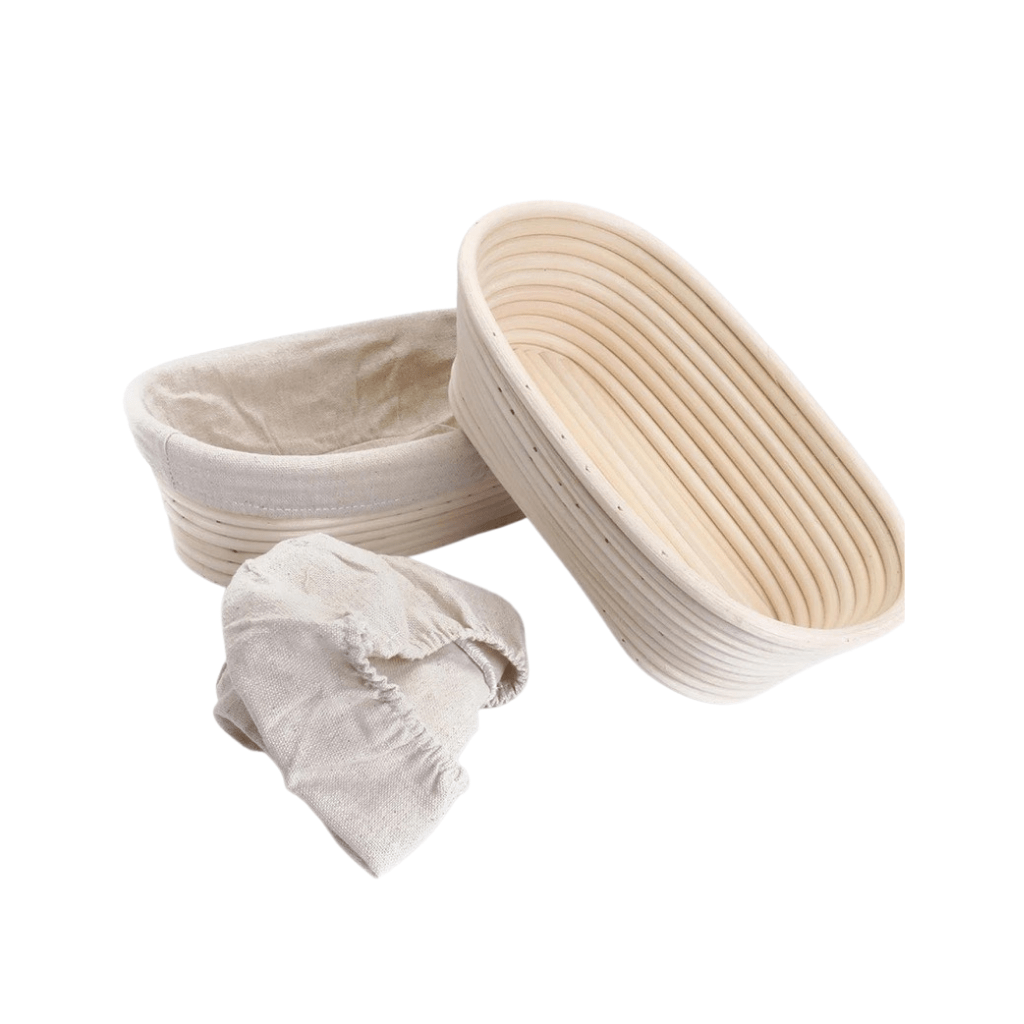
Your banneton baskets will need to be conditioned to get the most benefits. This usually happens over a course of three uses, at which point your banneton should harbor enough moisture and flour so your dough doesn’t stick to it.
Before each use, you’ll want to lightly dust the banneton with flour and tap out any excess. You don’t want to overdo it, but not using enough flour might make your dough stick to the basket. After a few uses (and trial and error), your loaf should come out perfect every time.
How to Care for Your Banneton
After you remove your dough from your banneton basket, you don’t have to do much deep cleaning. Use a dry bristle brush to remove any bits of lingering dough, then leave it out in the sun for a few hours to dry it. You’ll want to store it in a well-ventilated area so that moisture won’t ruin it.
If you want to give it a little more thorough cleaning, soak it in cold water for a few minutes without using soap. If mold starts to grow, you can bake it in the oven for a few minutes on a low heat to kill the bacteria.
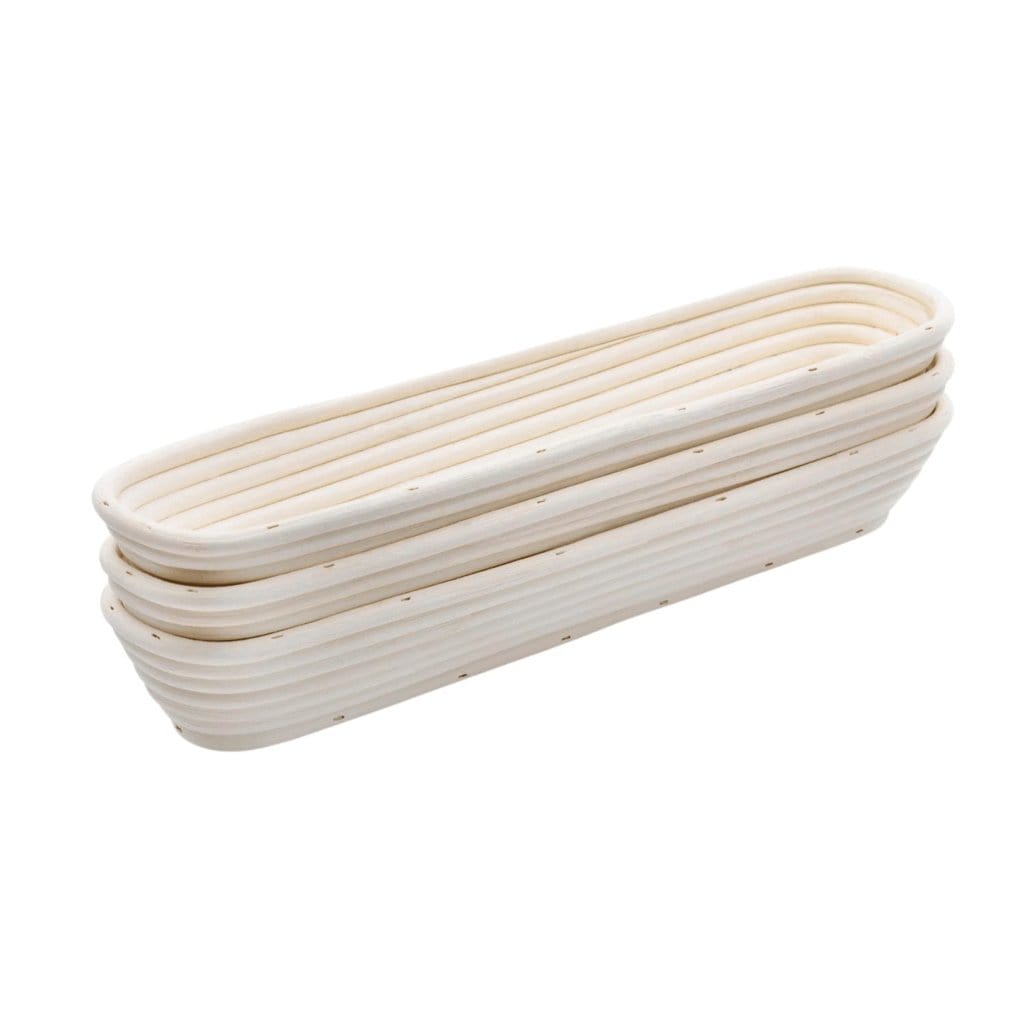
Whether oval or standard, using a banneton is fairly straightforward and can do wonders for your sourdough bread. Once your banneton is conditioned and you get that perfectly shaped loaf, you may never bake bread any other way.