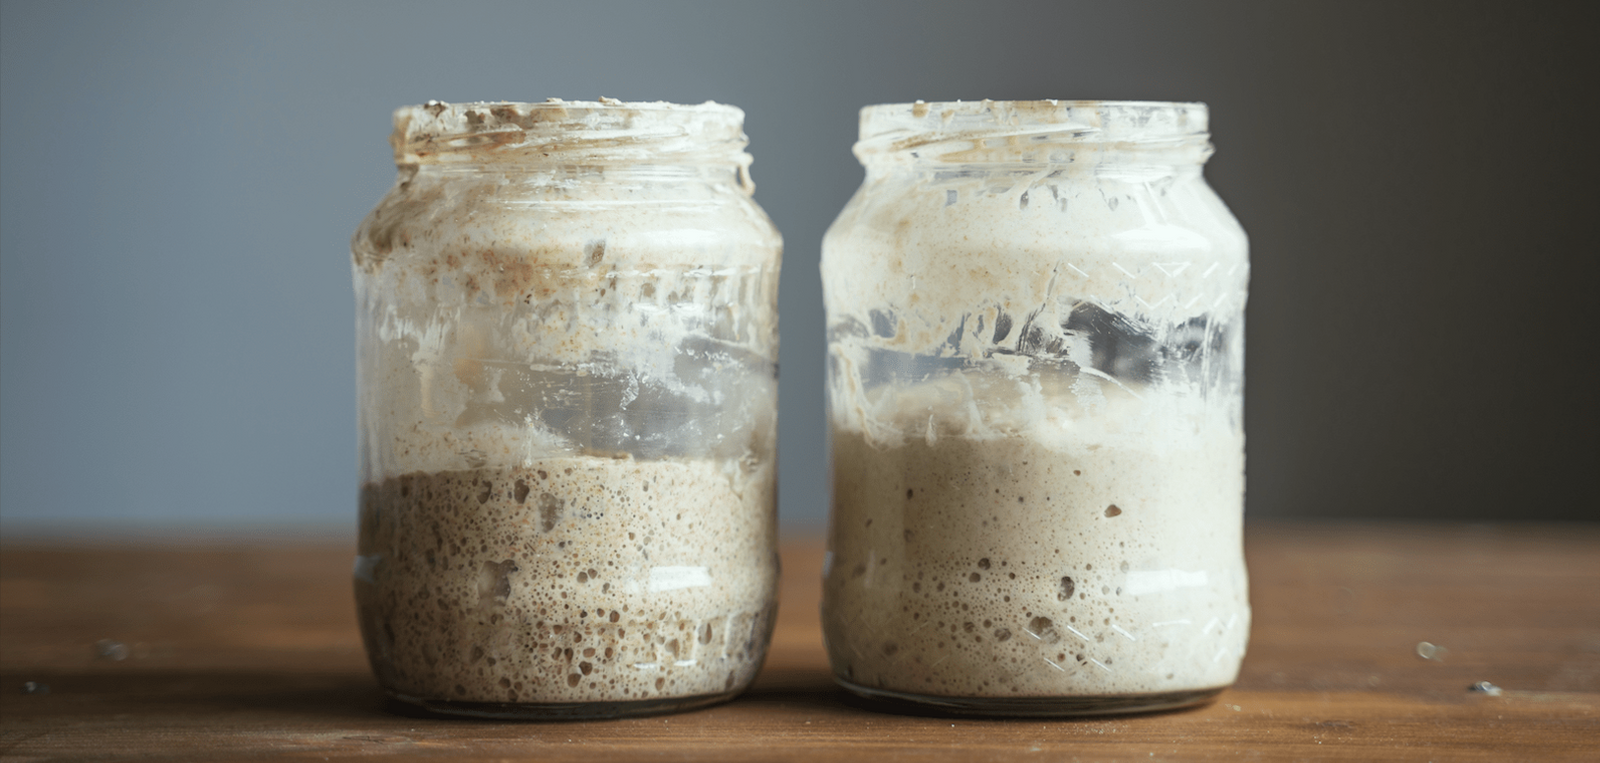
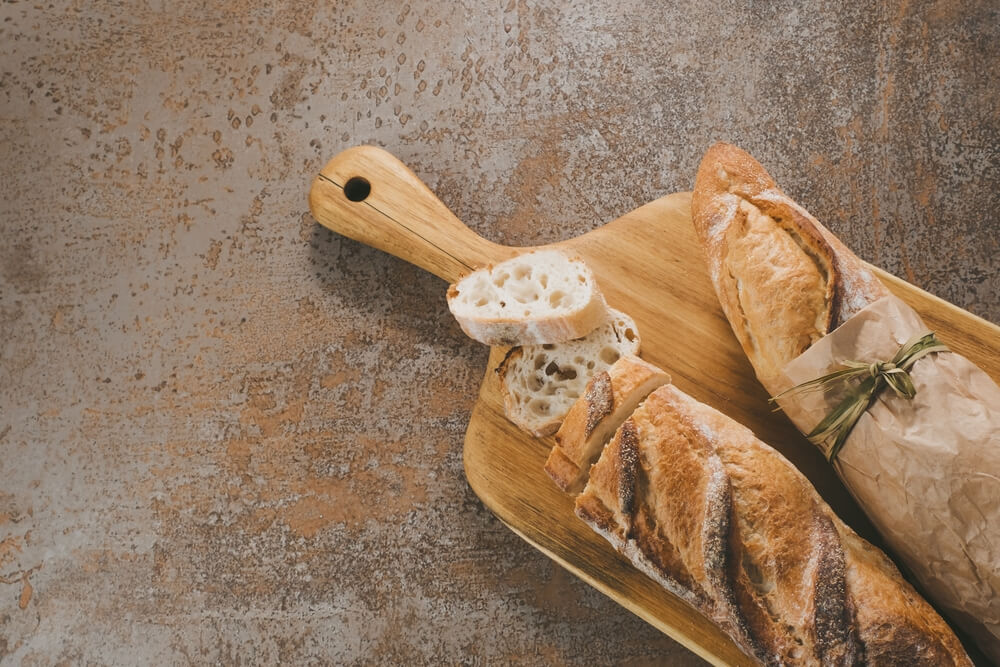
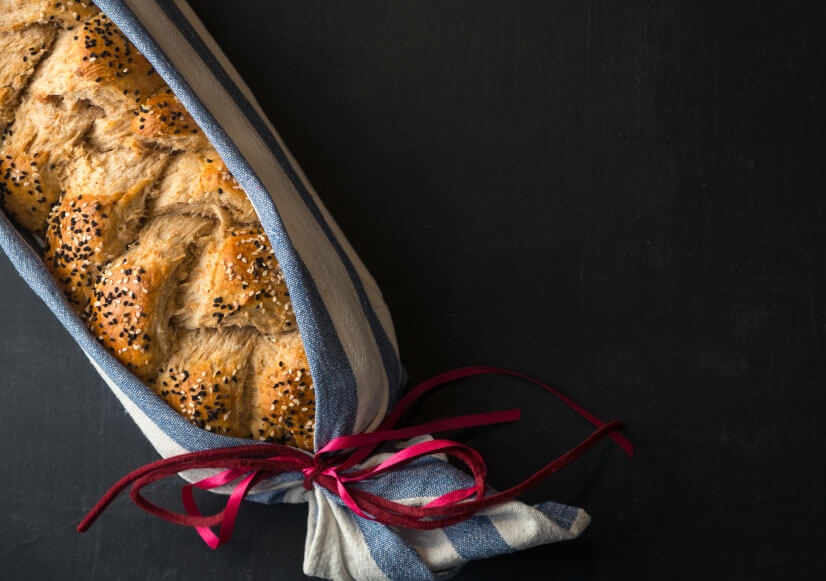
There is just something about warm baked bread that takes people back to simpler days. Perhaps it’s thought of sitting in grandma’s kitchen and smelling the bread in the oven. Sourdough bread not only smells good with its sweet, beer-like odor, but it tastes incredible, bringing forth earthy flavors found in whole wheat bread and the sweetness in dairy.
While you could buy sourdough bread at a local supermarket, there’s nothing like making your own and putting your heart, soul and love into it.
Now, there is a bit of science behind a sourdough starter. It’s a compound of microbes that helps bread rise, giving the bread its sour/sweet taste and light texture. Without these microbes and the right conditions, the starter isn’t going to rise, and you won’t get the sourdough bread you want out of it.
As such, there are several questions bakers often ask when they attempt a sourdough starter.
Why Isn’t My Sourdough Starter Rising?
Before you assume something is wrong with the sourdough starter itself, there may be many reasons the dough isn’t rising. A dough’s rise time is affected by ingredients, temperature, flour type and amount, and feeding frequencies.
- Temperature – Starters thrive best in warm places. The hotter a spot for the dough, the quicker it rises. Of course, winter baking has its challenges. The best temperature to prepare and rise dough is between 23C and 26C. When the temperature isn’t ideal, here what you can do to help your dough rise:
- Place start on the top of your refrigerator.
- Place the starter inside the oven or microwave, using the light as the warmer. Make sure not to accidentally turn on your oven if you go that route, as it’ll bake the starter.
- Store the starter in a cabinet; some place free of drafts. A cabinet near your stove is ideal.
- Feed the start with warm water (26C).
- Flour Type – Sourdough starter works best with organic flour, such as organic whole wheat flour. This kind of flour has natural yeast and bacteria. It’s also nutrient-dense that helps promote rising in the starter.
- Water – If you’re concerned that chemicals or chlorine are keeping the starter from rising, use bottled or filtered water instead. If you choose tap water, leave it out for about four hours before feeding your starter. This gives the chlorine time to evaporate.
- Feeding Frequency – Starters need to feed, so if you notice your starter isn’t as bubbly or rising as it used to be, you may need to give it more feedings, try feed it two times a day to see any improvement.
Should I Be Concerned About The Layer Of Water On The Starter?
It’s completely normal to see a layer of liquid floating at the surface of the sourdough starter. Very often, it’s a sign that the starter is hungry.
This liquid layer is known as hooch and may look clear, grey, brown or black in color. It occurs because the sourdough starter is running out of starches and sugars found in flour. It’s a sign that the starter needs more flour.
The hootch should only be seen occasionally; it typically happens when you forget to feed it regularly. If you notice the starter as it every time, you’re not giving it enough of something (water or flour). Just increase the amount of water and flour you give the starter to reduce the hooch’s appearance.
What Should Be Done With The Hooch?
If there is a clear level of the hooch at the top of your starter, pour the hooch off and re-feed the starter. However, if it only a little bit, you can stir the hooch into the starter and feed it as you typically would.
When Should I Toss Out The Starter?
If you notice mold growth on the starter, toss out the entire thing. Carefully clear the jar, inside and outside, before using it again. While mold doesn’t always appear on starters, but if you notice a pink or black color, it’s best to toss it and try again.
Stay tuned for the next part!


